
This guide will help you configure the ZainPay Payment Gateway in WooCommerce so your store can start accepting debit and credit card payments.
Installation
Automatic Installation
- Log in to your WordPress Admin Dashboard.
- Navigate to Plugins > Add New.
- Search for “ZainPay Payments for WooCommerce”.
- Click Install Now and then Activate.
Manual Installation
- Download the plugin .zip file from the WordPress.org plugin repository.
- Upload the zainpay-payments-for-woocommerce folder to the /wp-content/plugins/ directory using FTP or your hosting control panel.
- Go to Plugins > Installed Plugins in WordPress and click Activate under ZainPay Payments for WooCommerce.
- Navigate to WooCommerce > Settings > Payments to configure.
Configuring ZainPay in WooCommerce
Enable ZainPay
Go to WooCommerce > Settings > Payments and click on the manage ZainPay button. This will take you to the ZainPay settings page. Next, check the box Enable ZainPay to activate the gateway.
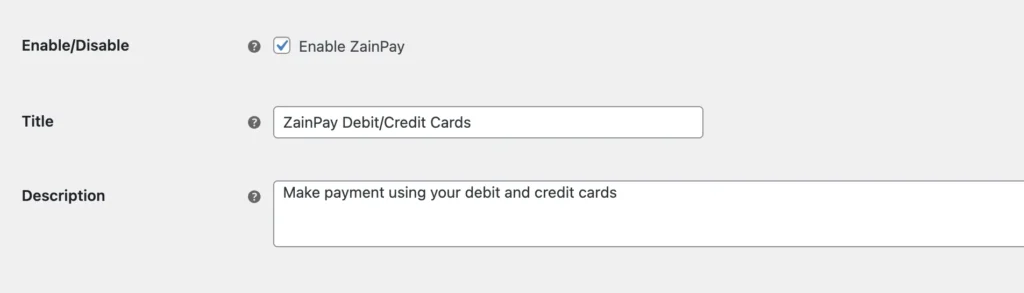
Customize Payment Display
- Title – This is what customers will see at checkout.
- Example: ZainPay Debit/Credit Cards
- Description – A short explanation displayed under the title.
- Example: Make a payment using your debit and credit cards.
Select Test or Live Mode
- Enable Test Mode if you want to test transactions before going live.
- Disable it to start accepting real payments.
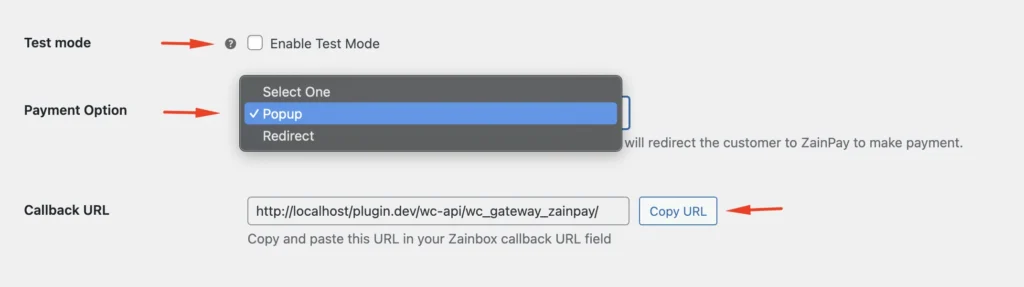
Choose Payment Option
- Popup – Opens the payment form on your site.
- Redirect – Sends the customer to ZainPay’s hosted payment page.
Configure the Callback URL
- Copy the Callback URL displayed here.
- Paste it in the Callback URL field when creating your Zainbox (see Add a Zainbox Guide 🔗).
- This ensures ZainPay can notify your site when a transaction is completed.
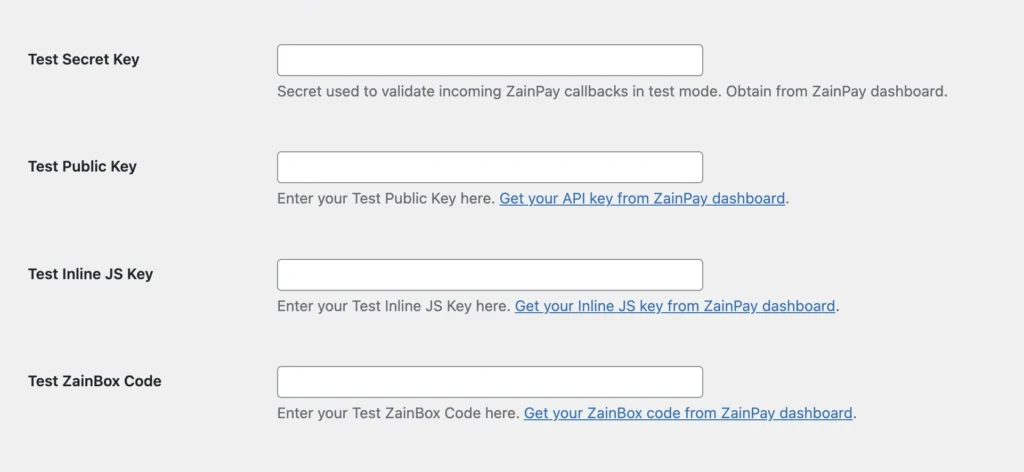
Add API Keys
Get your API credentials from your ZainPay Dashboard and paste them here:
- Live Secret Key – Used to validate ZainPay callbacks.
- Live Public Key – Identifies your store during transactions.
- Live Inline JS Key – Used if you selected Popup as a payment option.
- Live ZainBox Code – Link this gateway to the Zainbox you created.
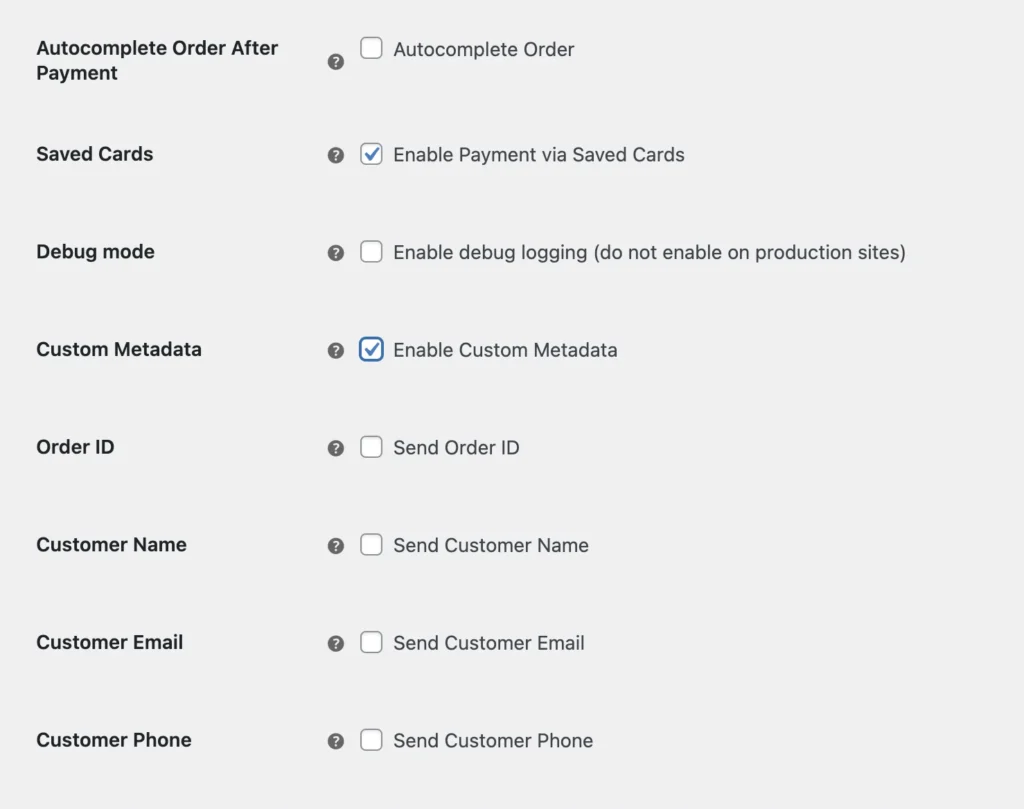
Configure Extra Options
- Autocomplete Order After Payment – Enable if you want WooCommerce orders to be marked as complete after payment automatically.
- Saved Cards – Allow customers to save their cards for faster checkout.
- Debug Mode – Enable for troubleshooting (don’t use on production).
- Custom Metadata – Pass extra data with each transaction (optional).
Save Your Settings
Click Save changes to apply your configuration.
📌 Important: The Callback URL must be added in your Zainbox settings so ZainPay can notify WooCommerce about successful payments.
You’re All Set!
- Customers can now pay using debit/credit cards via ZainPay.
- WooCommerce will automatically confirm and complete orders when payments succeed.
- Settlement will be made to your designated account according to your Zainbox settings.